Linux (Ubuntu)
Obtaining the sources
The first step of the preparation of the final system image is repository cloning.
To do this and make the following instructions possible, it’s recommended to update the currently installed packages
and, if necessary, install git:
sudo apt-get update && \
sudo apt-get install -y git
Then, the repository should be cloned recursively (to get the submodules):
git clone --recursive https://github.com/phoenix-rtos/phoenix-rtos-project.git
To execute the commands below, we should also enter the provided phoenix-rtos-project directory:
cd phoenix-rtos-project
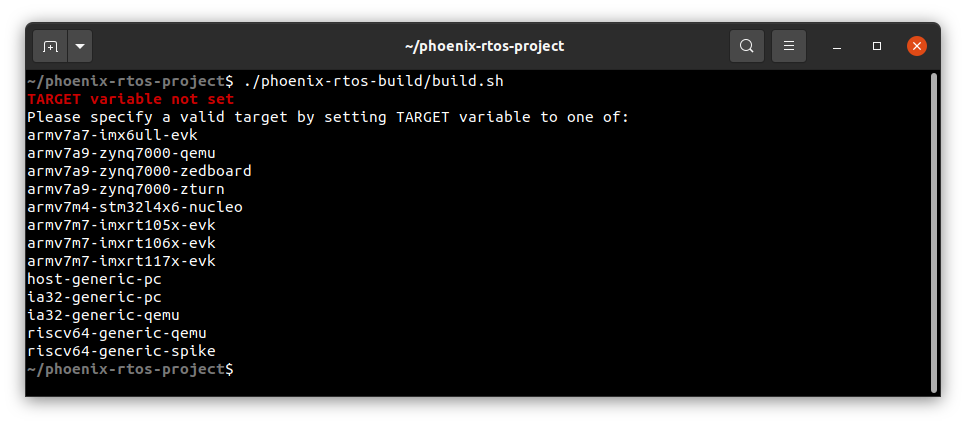
Supported target platforms
To get a list of valid targets, the build.sh script should be launched with an empty TARGET variable, e.g.:
./phoenix-rtos-build/build.sh
Building using docker
This is the fastest way to start development, as all the necessary tools are included in the prepared Docker image.
Firstly, you need to have Docker installed.
Installing Docker on Ubuntu (click to expand)
Install required packages
sudo apt-get update && sudo apt-get install -y \
curl \
ca-certificates \
gnupg \
lsb-release
Make docker packages available
curl -fsSL https://download.docker.com/linux/ubuntu/gpg | \
sudo gpg --dearmor -o /usr/share/keyrings/docker-archive-keyring.gpg && \
echo "deb [arch=$(dpkg --print-architecture) signed-by=/usr/share/keyrings/docker-archive-keyring.gpg] " \
"https://download.docker.com/linux/ubuntu $(lsb_release -cs) stable" | \
sudo tee /etc/apt/sources.list.d/docker.list > /dev/null
Install docker packages
sudo apt-get update && \
sudo apt-get install docker-ce docker-ce-cli containerd.io
Check if Docker is properly installed (version can be different):
sudo docker --version

To make calling docker command without
sudopossible type:sudo groupadd docker
Even if group
dockeralready exists type then:sudo usermod -aG docker $USER && \ newgrp docker
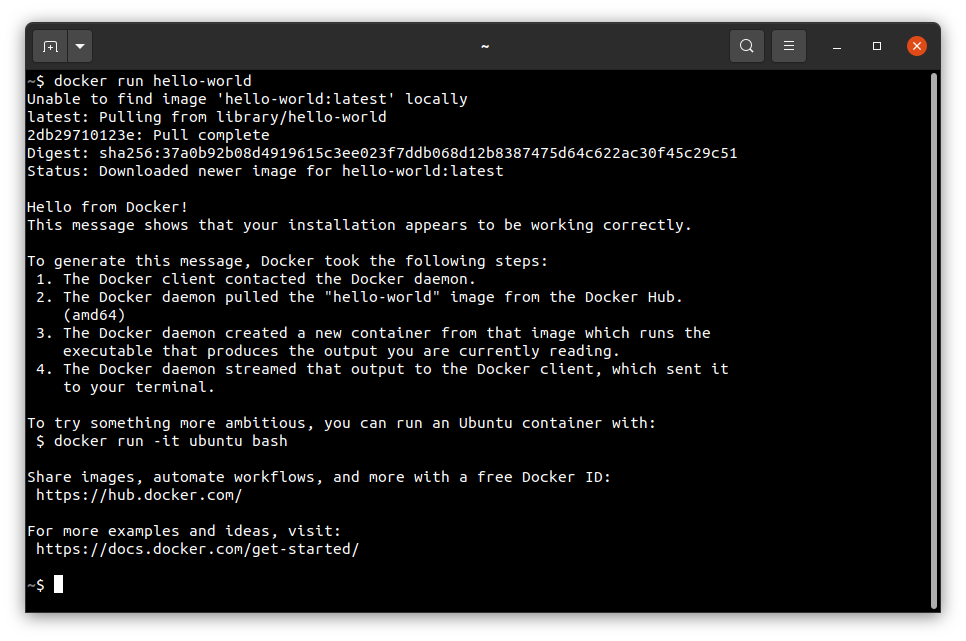
Check if running docker images without sudo works properly:
docker run hello-world
For more details and other instructions see
Then, to build, run build script with TARGET environment variable:
TARGET=ia32-generic-qemu ./docker-build.sh all
After the build completes, kernel and disk images will be created and placed in the _boot directory.
Building the native toolchain
If you prefer, you can build the toolchain from source yourself. Before doing so, ensure that the prerequisites listed below are installed:
sudo apt-get update

# toolchain build dependencies
sudo apt-get install -y --no-install-recommends \
  autoconf \
  automake \
  bzip2 \
  ca-certificates \
  g++ \
  git \
  gcc \
  libc6-dev \
  libglib2.0-dev \
  libmaxminddb-dev \
  libtool \
  make \
  patch \
  texinfo \
  unzip \
  wget \
  xz-utils

# phoenix-rtos-build runtime dependencies
sudo apt-get install -y --no-install-recommends \
  cpio \
  genext2fs \
  libhidapi-dev \
  vim \
  mtd-utils \
  xxd \
  cmake \
  python3 \
  python3-yaml \
  python3-jinja2 \
  python3-pycryptodome \
  python3-packaging \
  python3-resolvelib \
  python3-pyparsing \
  python3-rich \
  jq
In the phoenix-rtos-build/toolchain directory, run one of the following
commands to build the toolchain for the specific architecture:
./build-toolchain.sh i386-pc-phoenix ~/toolchains/i386-pc-phoenix
./build-toolchain.sh arm-phoenix ~/toolchains/arm-phoenix
./build-toolchain.sh aarch64-phoenix ~/toolchains/aarch64-phoenix
./build-toolchain.sh riscv64-phoenix ~/toolchains/riscv64-phoenix
./build-toolchain.sh sparc-phoenix ~/toolchains/sparc-phoenix
Errors and warnings that may occur during the toolchain compilation
If you have encountered some issue during the toolchain build - you probably interrupted a build before or the files in
the toolchains directory are broken for some reason. Removing a directory for a specific architecture
(arm-phoenix/i386-pc-phoenix/riscv64-phoenix/sparc-phoenix) and launching a build once again should help.
NOTE: Even during the correct compilation process there may be some unresolved warnings.
Then update your PATH variable. To make that change persistent across sessions, add the following command to your
shell configuration file (e.g. ~/.bashrc):
echo 'export PATH=$PATH \
      :$HOME/toolchains/i386-pc-phoenix/i386-pc-phoenix/bin \
      :$HOME/toolchains/arm-phoenix/arm-phoenix/bin \
      :$HOME/toolchains/aarch64-phoenix/aarch64-phoenix/bin \
      :$HOME/toolchains/riscv64-phoenix/riscv64-phoenix/bin \
      :$HOME/toolchains/sparc-phoenix/sparc-phoenix/bin' >> $HOME/.bashrc
As a final step, source the ~/.bashrc file to apply the changes immediately, or restart your terminal session for
them to take effect.