Running system on ia32-generic-qemu 
This version is designated for generic PC based on the IA32 processor. To launch this version the final disk image
should be provided. The image is created as the final artifact of the phoenix-rtos-project building and is located in
the _boot directory. The image consists of the bootloader (plo), kernel, TTY VGA driver, ATA driver with ext2
filesystem.
See Building chapter.
Running image under QEMU
Firstly, you need to install QEMU emulator.
How to get QEMU (Ubuntu)
Install the required packages
sudo apt update && \
sudo apt install -y \
qemu-system \
virt-manager \
virt-viewer \
libvirt-clients \
libvirt-daemon-system \
bridge-utils \
virtinst \
libvirt-daemon
Check if QEMU is properly installed:
qemu-system-i386 --version~$ qemu-system-i386 --version QEMU emulator version 4.2.1 (Debian 1:4.2-3ubuntu6.24) Copyright (c) 2003-2019 Fabrice Bellard and the QEMU Project developers ~$
To run the system image under QEMU you should type the following command
(launched from phoenix-rtos-project directory).
./scripts/ia32-generic-qemu.sh
Phoenix-RTOS will be launched and the psh shell command prompt will appear in the terminal.
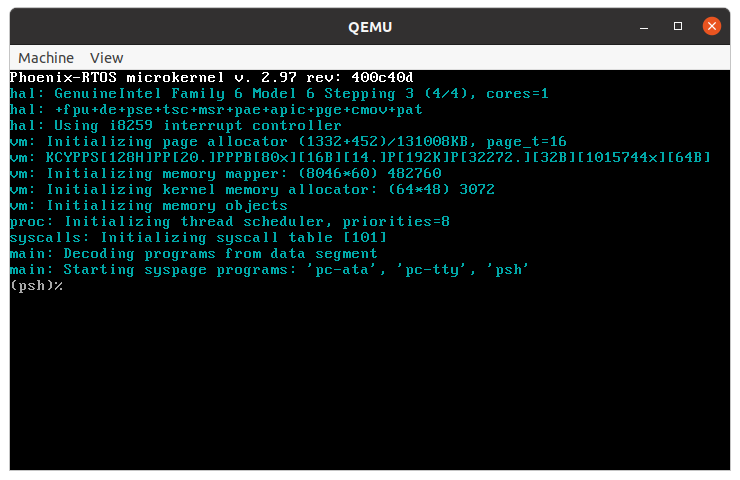
To get the available command list please type:
help

In order to run one of the user applications you should type /usr/bin/appname, for example:
/usr/bin/voxeldemo
The result is presented below.

You can press ctrl + c to quit the voxeldemo app.
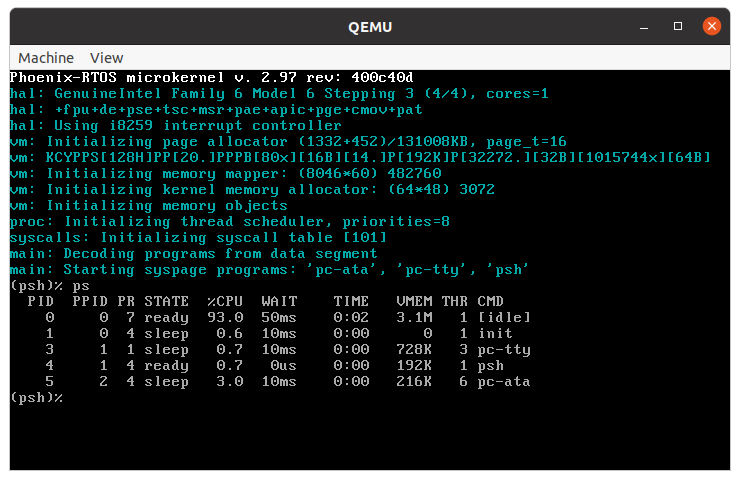
To get the list of working processes please type:
ps
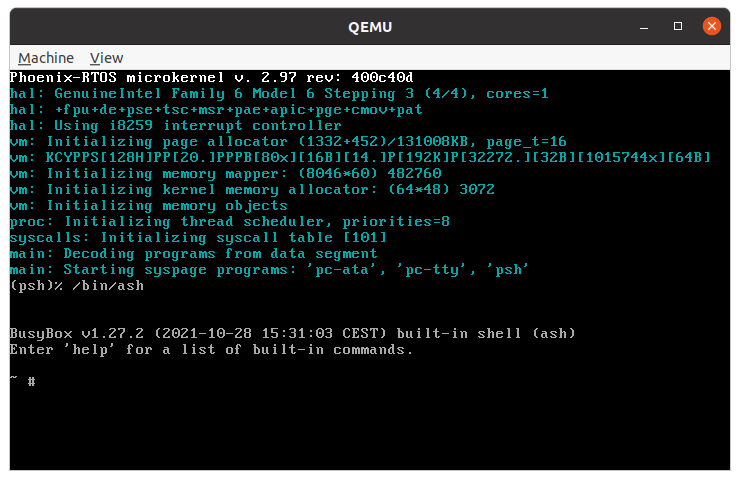
There is a possibility to run the ash shell, it can be launched using the following command.
/bin/ash
Phoenix-RTOS image can be also launched on multiple processor cores. To do this please define the number of cores
(e.g. 4) using the following command (launched from the phoenix-rtos-project directory).
qemu-system-i386 -hda _boot/phoenix-ia32-generic.disk -smp 4
The number of detected cores is presented during kernel initialization.

Network setup on ia32-generic-qemu
Note
This guide was tested on Ubuntu 24.04 LTS host OS.
There are few steps to follow:
1. Create and set up vibr0 bridge on a host using qemu-bridge-helper
Install the required package and ensure that libvirtd is running:
sudo apt update
sudo apt install qemu-system-common libvirt-clients libvirt-daemon
systemctl enable libvirtd.service
systemctl start libvirtd.service
Start the default network bridge, and configure it to run on startup.
sudo virsh net-autostart --network default
sudo virsh net-start --network default
After that verify that the IP range 192.168.122.1/24 is reported by the vibr0 bridge:
ip addr show virbr0
The expected output:
virbr0: <NO-CARRIER,BROADCAST,MULTICAST,UP> mtu 1500 qdisc noqueue state DOWN group default qlen 1000
  link/ether xx:xx:xx:xx:xx:xx brd ff:ff:ff:ff:ff:ff
  inet 192.168.122.1/24 brd 192.168.122.255 scope global virbr0
    valid_lft forever preferred_lft forever
If /etc/qemu directory does not exist, create it and provide required privileges:
sudo mkdir /etc/qemu
sudo chmod 755 /etc/qemu
Provide bridge configuration for QEMU:
echo "allow virbr0" | sudo tee -a /etc/qemu/bridge.conf > /dev/null
sudo chmod 644 /etc/qemu/bridge.conf
Set necessary permission for qemu-bridge-helper in order to enable running QEMU without root privileges.
Warning
Mind that setting this permission is not fully secure. See this discussion.
sudo chmod u+s /usr/lib/qemu/qemu-bridge-helper
Sources used: https://apiraino.github.io/qemu-bridge-networking/, https://mike42.me/blog/2019-08-how-to-use-the-qemu-bridge-helper-on-debian-10
2. If IPv6 is needed, change the configuration of virbr0
sudo virsh net-destroy default
sudo virsh net-edit default
The commands above open the editor of the configuration file of virbr0. There are two necessary changes:
Add IPv6 address to the bridge interface:
<ip family='ipv6' address='2001:db8:dead:beef:fe::2' prefix='64'/>
Enable NAT for IPv6:
<forward mode='nat'>
  <nat ipv6='yes'/>
</forward>
The overall config should look something like this:
<network>
  <name>default</name>
  <uuid>a9e032b7-e32f-4f91-a273-e6c6f15b8904</uuid>
  <forward mode='nat'>
    <nat ipv6='yes'/>
  </forward>
  <bridge name='virbr0' stp='on' delay='0'>
  <mac address='52:54:00:99:4d:c3'/>
  <ip address='192.168.122.1' netmask='255.255.255.0'>
    <dhcp>
      <range start='192.168.122.2' end='192.168.122.254'/>
    </dhcp>
  </ip>
  <ip family='ipv6' address='2001:db8:dead:beef:fe::2' prefix='64'/>
</network>
Save the config file and start the bridge by running:
sudo virsh net-start default
3. Launch QEMU using a starting script with net suffix
./scripts/ia32-generic-qemu-net.sh
4. Configure network on the target
This configuration can be done in two ways: using psh tools or Busybox.
Note
For now IPv6 configuration is possible only using Busybox.
Network configuration using psh
Enable dynamic IP address assignment and set default gateway:
ifconfig en1 dynamic
route add default gw 192.168.122.1 en1
Here 192.168.122.1 is the address of the virtual bridge interface on the host pc.
You should put a different address if applicable.
Network configuration using Busybox and rc script
Note
By default IP is assigned using DHCP. For other possibilities please check the configuration file
located in _projects/ia32-generic-qemu/rootfs-overlay/etc/rc.conf.d/network
Note
There are other programs executed by the script. For more information please check the content of the rc
file for ia32-generic-qemu in _projects/ia32-generic-qemu/rootfs-overlay/etc/rc
Run the script by calling:
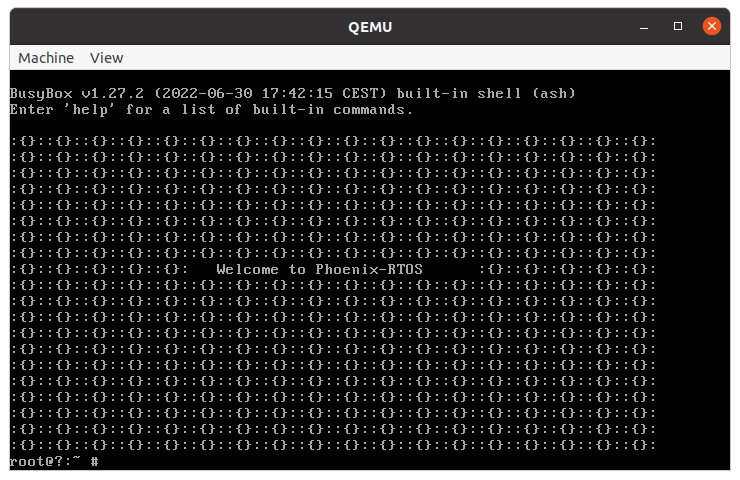
/linuxrc
As you can see, the advanced version of Phoenix-RTOS with POSIX shell has been started:
Note
Some applications may require accurate datetime to be set. See how it is done in case of Azure IoT SDK.
Running image on regular hardware
To run the image on regular hardware please be sure that a target system is equipped with an ATA disk supporting the
PATA interface. The image should be copied to the boot disk using the dd command (it is assumed that the target
disk is represented by /dev/sda block device).
dd if=_boot/ia32-generic-pc/phoenix.disk of=/dev/sda