Running system on sparcv8leon3-gr712rc-board #
These instructions describe how to run Phoenix-RTOS on the sparcv8leon3-gr712rc-board target. Note that the build
artifacts, including the system image should be provided in the _boot directory. If you have not built the system
image yet, please refer to the Building Phoenix-RTOS image section.
Connecting the board#
The board should be connected through the JTAG interface to the computer.
Flashing the Phoenix-RTOS system image#
The process comes down to a few steps, described below.
Using GRMON to upload the system image#
The easiest way to upload the system image to the board is to use the GRMON2 monitor. Connect to the board using the
FTDI JTAG interface, as described in the GRMON2 User Manual.
Erase the flash and upload the system image to the flash memory using the following command:
flash erase all
flash load phoenix-rtos-project/_boot/sparcv8leon3-gr712rc-board/phoenix.disk 0x0
Then, load the partition table to the last sector of the flash memory using the following command:
flash load phoenix-rtos-project/_boot/sparcv8leon3-gr712rc-board/ptable.img 0x7f0000
To run the system, set entry point to address 0x0 and start the CPU using the following commands:
ep 0x0
run
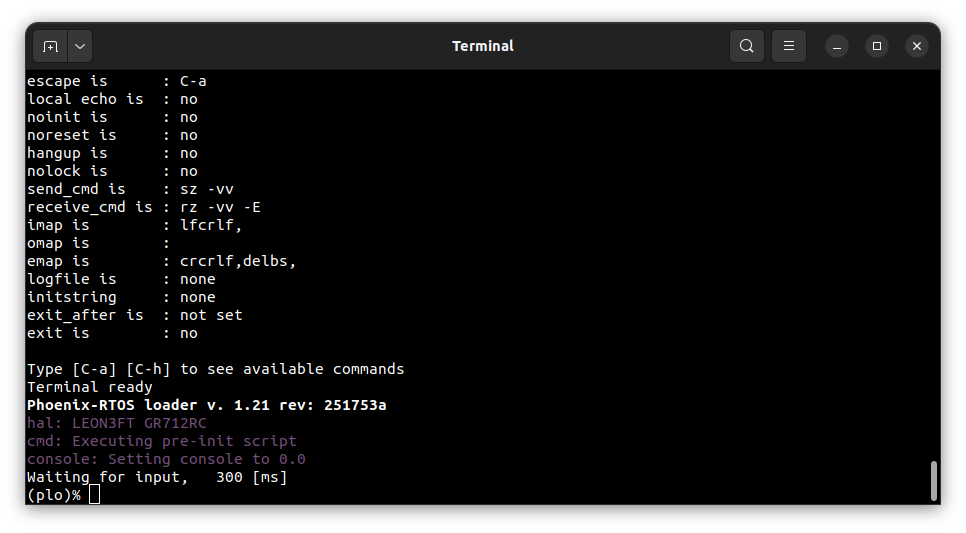
When the PLO interface appears, press any key to enter the plo console.
Execute the jffs2 command with appropriate parameters
as specified during the build process
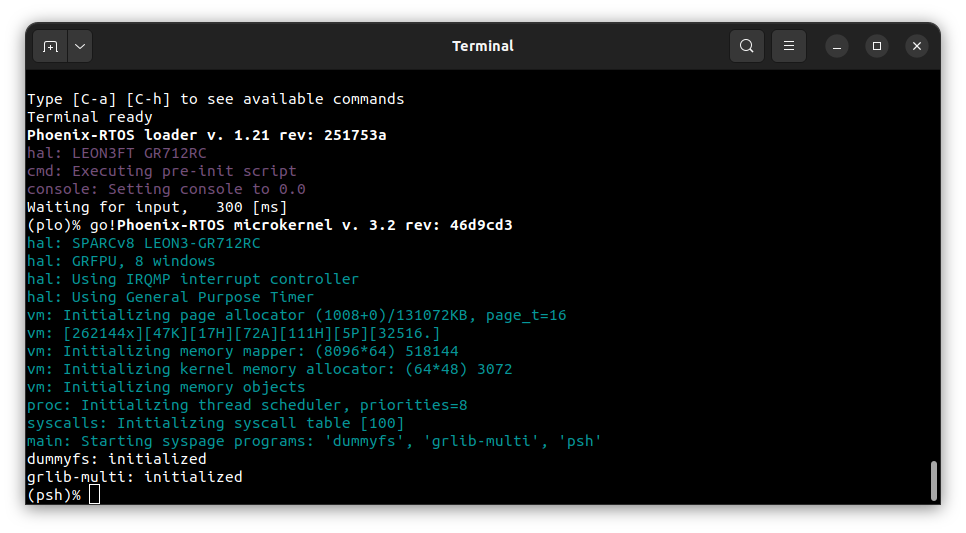
to create cleanmarkers in the flash memory. Then enter the go! command to start the Phoenix-RTOS system.
Using Phoenix-RTOS#
After executing the go! command, Phoenix-RTOS will be launched and the psh shell command prompt will appear in the
terminal.
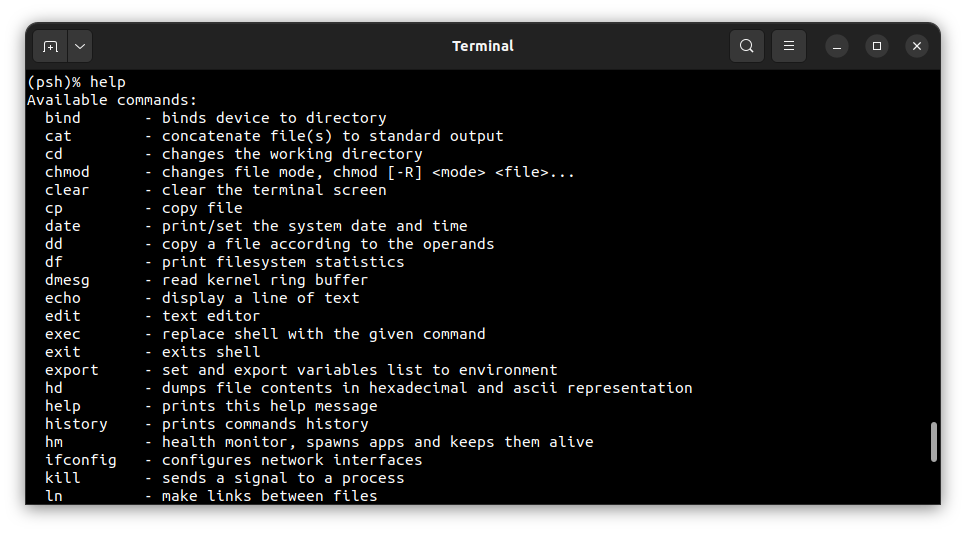
To get the available command list type:
help
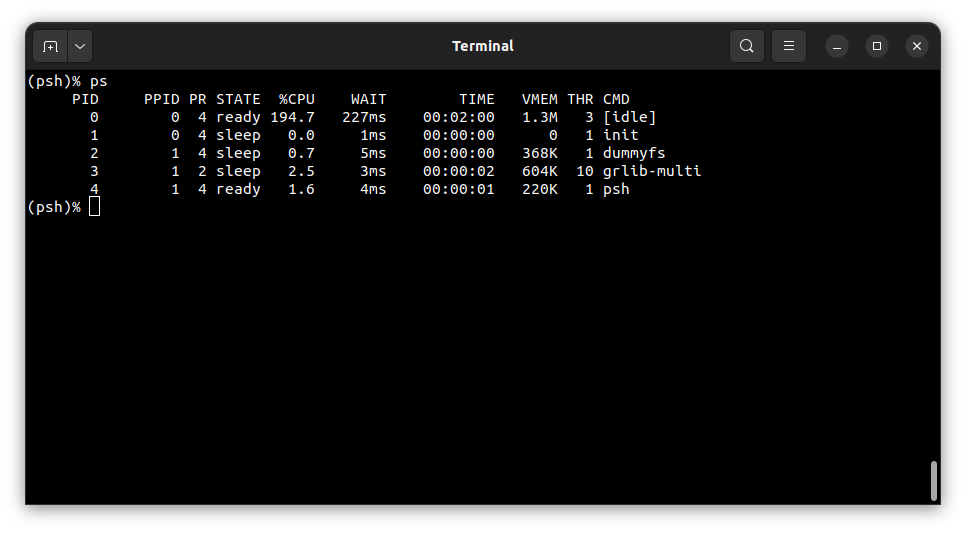
To get the list of working processes type:
ps